Paper Top Hats
Part 1 - Mad Hatter Paper Hat |
Part 2 - Steam Punk Top Hat |
Part 3 - Paper Mini Top Hat

I was actually planning on making fairy wings a few weeks ago when I pulled the black poster board out of my stack. As I am frequently distracted away from one project to another, however, I was soon figuring out how to make sized-to-fit hats and drawing out templates.
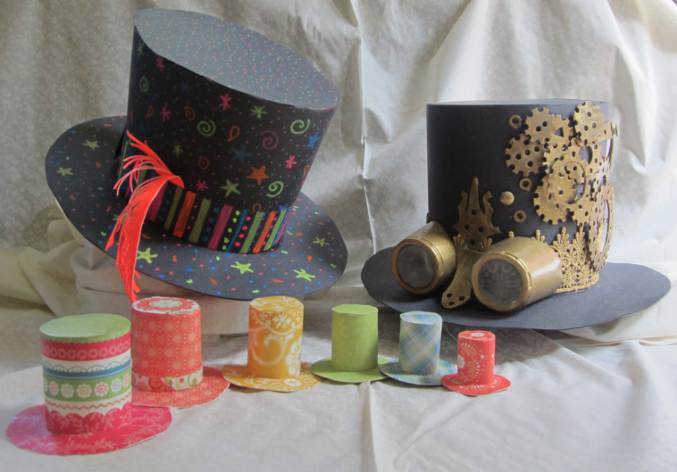
All of the above paper hats are made the same way. The Mad Hatter Hat is decorated with neon paint markers and a paper feather. The Steampunk Hat has foam gears and plastic cup goggles. The Mini Hats template can be printed out at different sizes, making it a great school project: the hats can be adapted for Presidents' Day (Lincoln's stovepipe hat where he carried his papers), Dr. Seuss Week (the Cat in the Hat's red and white hat), and Fourth of July (Uncle Sam's stars and stripes hat).
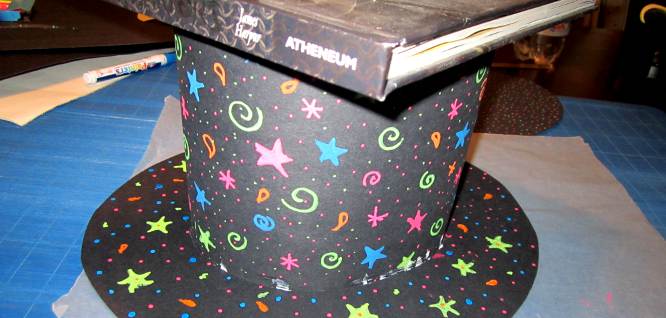
Mad Hatter Hat
The Mad Hatter Hat narrows between the top of the crown and the brim: the other hats in this tutorial are straight up and down cylinders. You only need one piece of poster board to make this hat: however, if you have enough left over, or have a second sheet of poster board, you may choose to reinforce the brim.
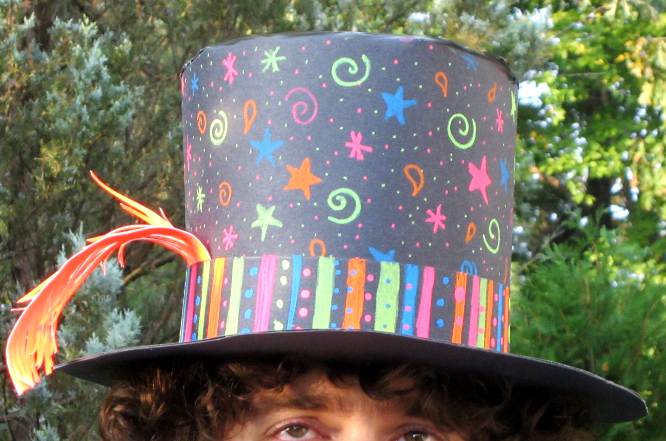

Opaque acrylic paint markers really stand out against the black poster board. Remember to shake the markers now and then to keep the color flowing properly. If the color isn't bright enough for your taste, just retrace over your designs.
What you will need :
String
Scissors
Large piece of scrap paper or newspaper
Pencil
Ruler or yardstick
Cardstock or scrapbooking paper for feather, if desired
Cellophane tape, if desired
if desired. Keep magnets away from small children and pets.
wax paper for drying
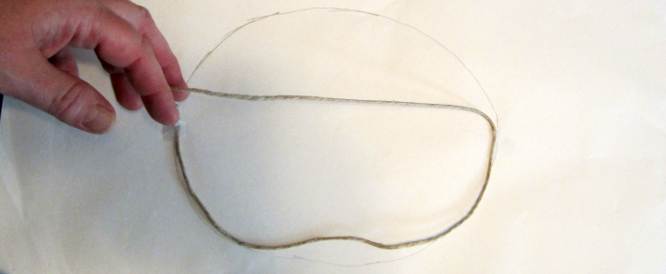

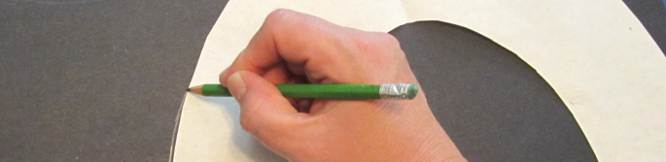
To figure out how large to make your hat, wrap a string around your head an inch above you eyebrows. Form the string into an oval on your scrap paper and trace.
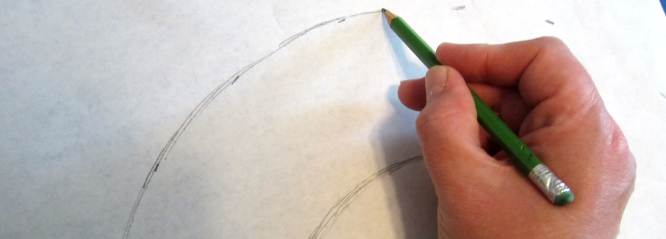

Using a ruler as a guide, make little marks two inches out all around the first oval you drew. Connect the marks to make a larger, outside oval.
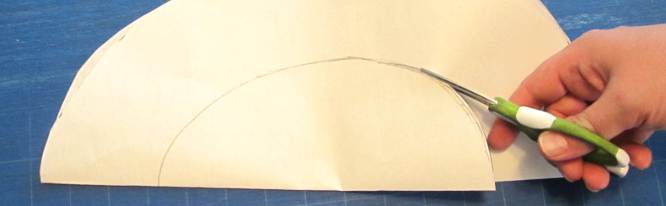

Fold your paper through the center of the long length of the ovals. Cut away the area outside the larger oval and the area inside the smaller oval.
Place the oval doughnut shape onto your head to see how the brim of your hat will fit. If it is tight, you can trim a little off the inside of the doughnut shape.
It is all right if the brim is a little loose on you because you will be adding layers to the project as you go along. But if the brim is so loose that it is falling over your ears, you can adjust it on the next step.
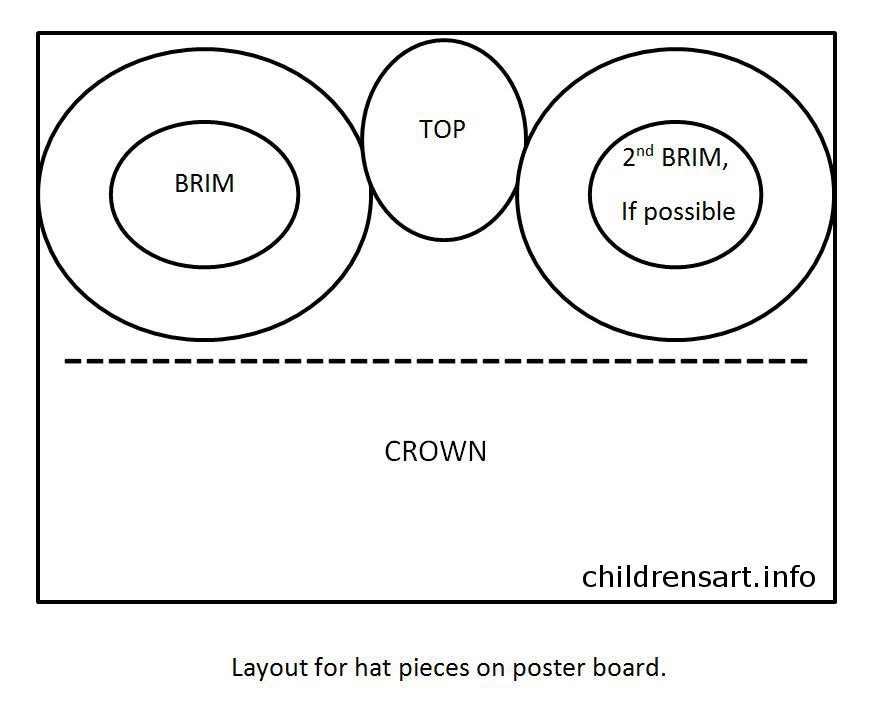

Position the template you just made into one corner of your poster board. You need to lay out the pieces of your hat thoughtfully so that you will have enough room on the poster board. Make the top of the hat at least an inch larger all around than the inside of your brim.
Depending on how large your head is, or how tall you want the crown of your hat to be, you may not be able to fit the second brim on the single piece of poster board. Cut out the pieces.

If the brim of your hat seemed too loose in the previous step, draw the inside oval a little smaller as you draw onto the poster board.
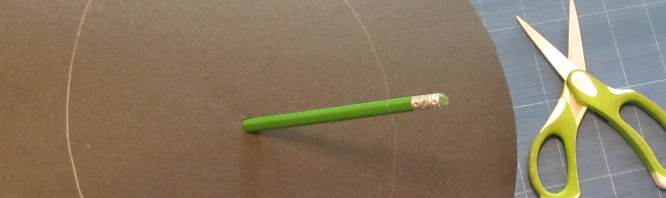

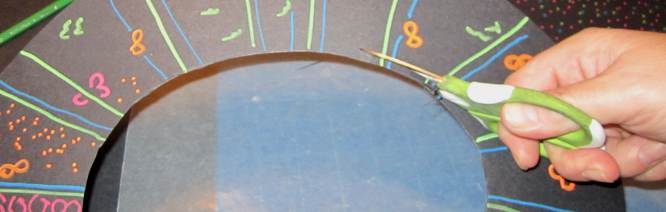
Poke a pencil through the center so that you can insert the scissors without bending the brim. Cut out the center of the hat.
Place the hat brim onto your head to check the size again.

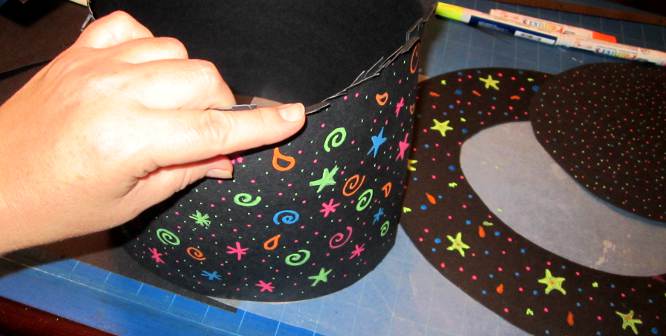
Roll the crown piece into a cylinder that fits comfortably around your head. Try inserting it into the brim to see if the size needs to be adjusted.
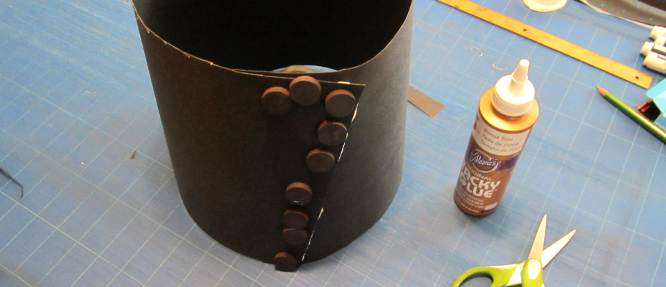
We wanted our Mad Hatter hat to be larger at the top than the brim. Keeping the brim end pinched together at the seam, we slanted the seam at the top so that it would be larger.
After applying glue, we held the seam together with button magnets placed opposite each other on the inside and outside of the hat. This method takes a few hours to dry: if you are short on time and have adult supervision, you could staple the seam, use a hot glue gun, or use a quick drying glue.
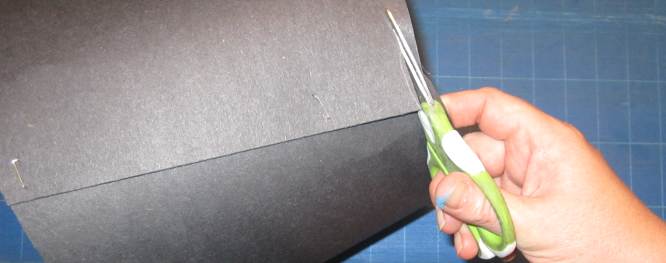

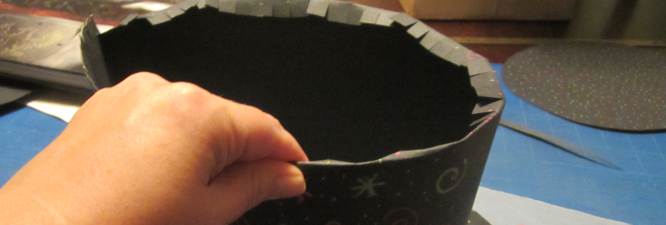
Trim the top and bottom edges so that they are even. Snip notches every 1/2" along the top and bottom edges.
You can start decorating the hat pieces at any time. We used opaque acrylic paint markers-the brand we used were permanent, acid free, and non-toxic--but you could use opaque acrylic paint if you can't find the markers. Regular transparent markers would not show up against the black poster board.

When everything is dry, FOLD OUT the notches on the brim end of the crown cylinder.
Slip the hat brim over the cylinder.

If the brim is too small trim a bit along the inside. If the brim is too large, lengthen the notches along the brim end of the crown cylinder and try fitting again.
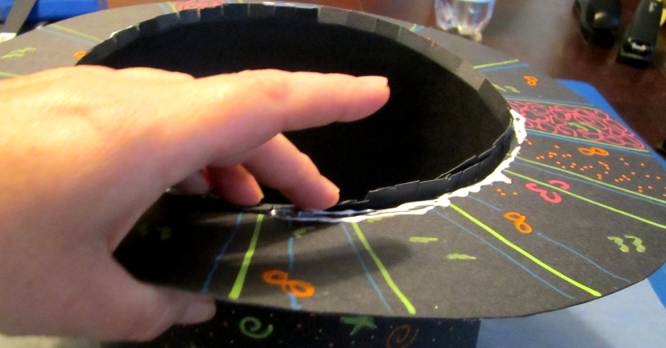

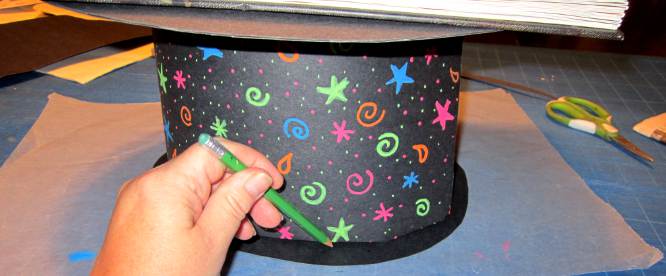
Glue around the inside brim. Fold the notches into the glue. Flip the hat over so that it sits on a sheet of wax paper.

FOLD IN the notches along the top end of the crown cylinder.

Find a book that is large enough to cover the top end of the cylinder and place it gently on top. Make sure the book isn't so heavy that it crushes the hat! Press your fingers along the inside of the brim to flatten where the glue meets the notches. Leave to dry.
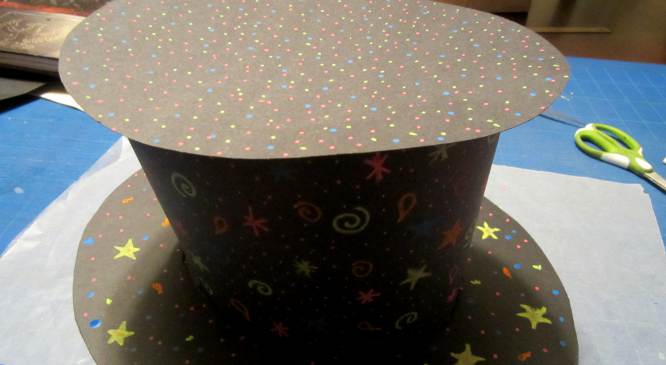

After a few hours, check to see how the top will fit over the crown cylinder. Ours was too large: better for it to be too large than too small!

After gluing the notches that were folded in at the top of the crown cylinder, we centered the top piece. We flipped the hat and placed the book on top of the dried brim. We marked where we would trim the top piece later, but that was unnecessary. We ended up just using the rim of the crown to guide our scissors.
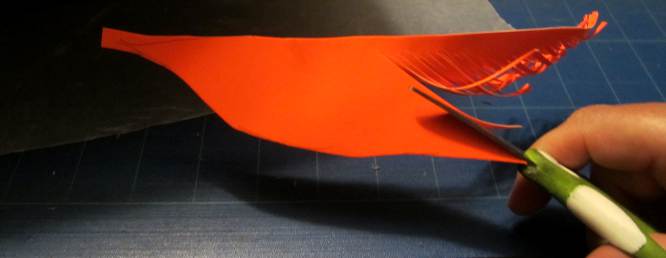

I'd been saving this sheet of neon orange card stock for over seven years, and I finally found its purpose. I folded the card stock in half and glued the inside together. Leaving the folded edge intact, I cut a feather shape out of the stiffened paper. I added the barbs by cutting parallel lines towards the folded side.
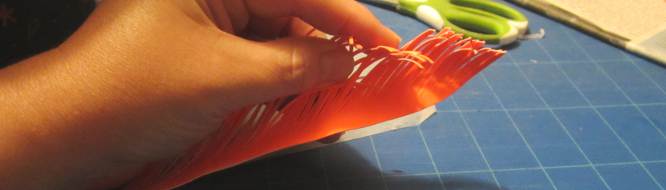

You can curl the barbs by gently bending them with your fingers.
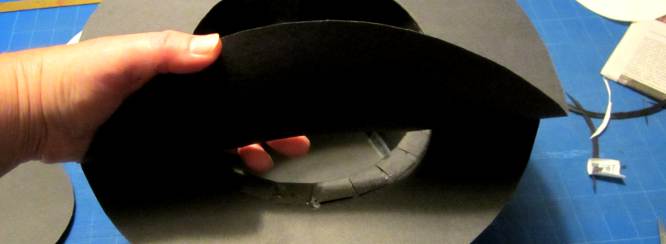

If you had enough poster board to allow for a second brim, glue it onto the bottom. The second brim will give added strength and shape, and will also hide the notches.